
Kivy 시작하기 1 (1.11.1 버전 - 설치하기)
사용 버전: Python 3.6.8, Kivy 1.11.1
사용 프로그램: Atom 1.42.0 x64
Kivy에 대해서 대략적으로 설명하자면,
Kivy는 Python으로 GUI 프로그램을 만들 수 있는 모듈입니다.
https://github.com/kivy/kivy/blob/master/LICENSE
그리고 MIT 라이선스를 사용하여, 무료입니다.
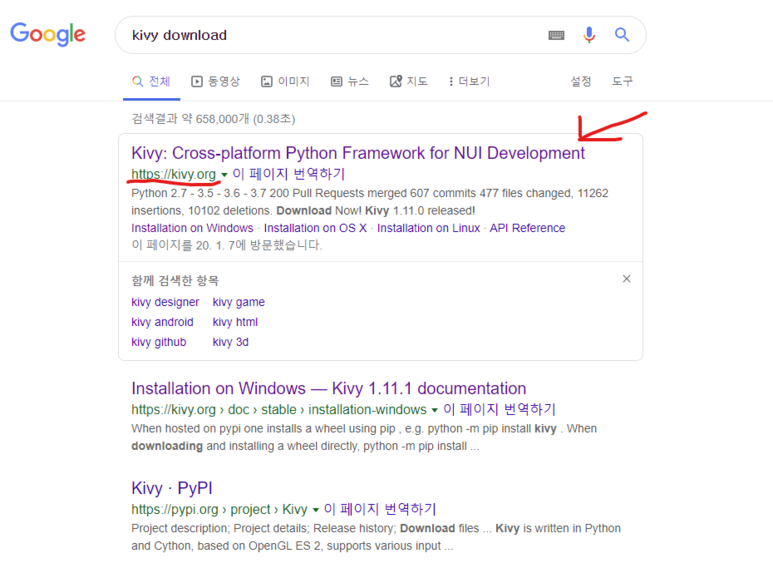
Kivy download를 검색합니다.
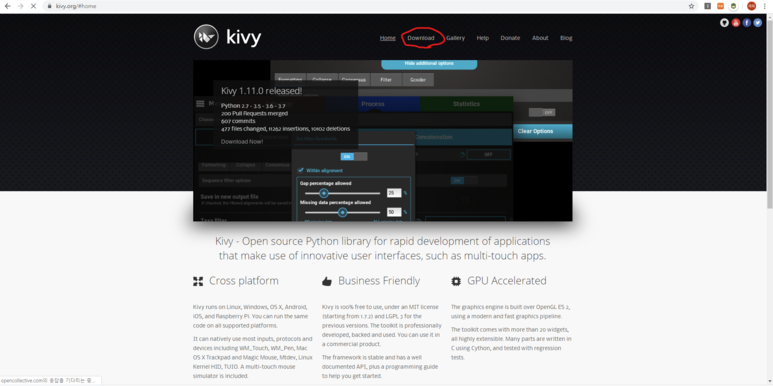
Download를 눌러줍니다.
Installation on Windows를 눌러줍니다.
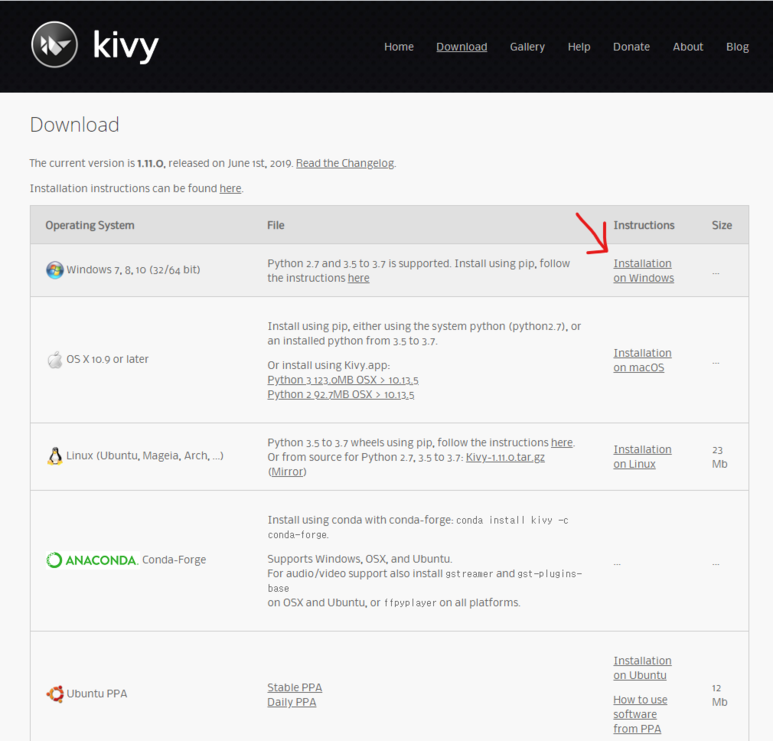
이런 화면이 나옵니다.
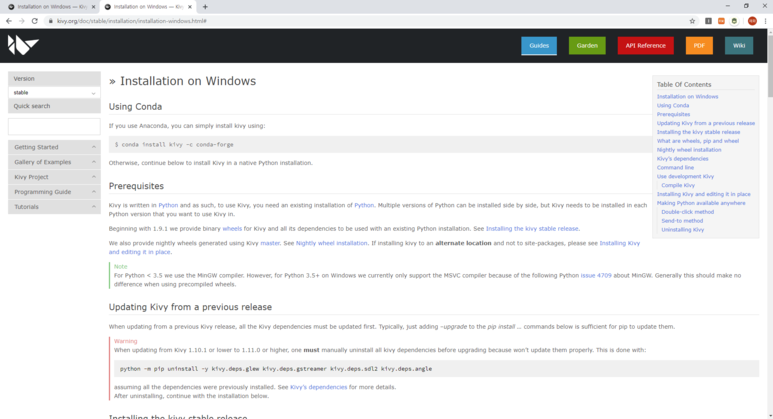
저는 Anaconda를 사용하지 않기 때문에, 직접 설치를 하겠습니다.
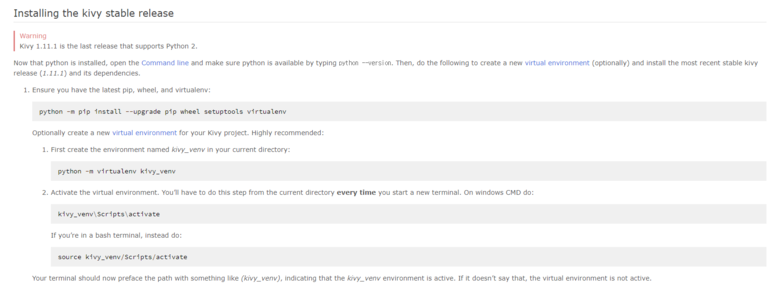
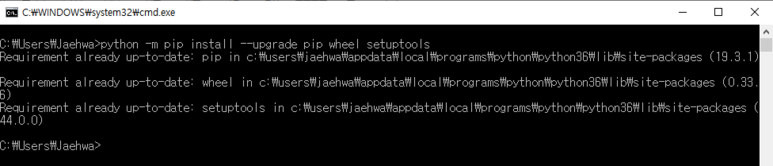
python -m pip install --upgrade pip wheel setuptools
virtualenv는 저는 사용하지 않을 거라서 설치하지 않습니다.

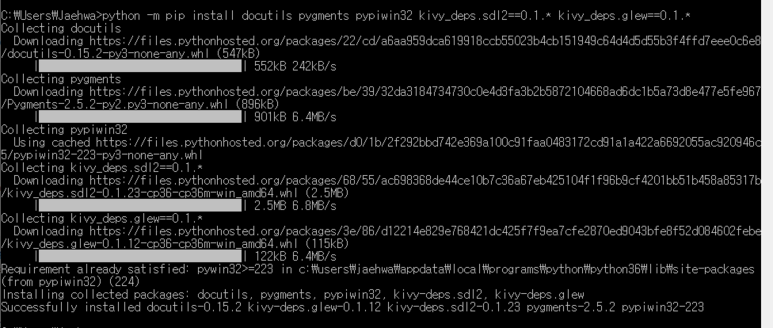
python -m pip install docutils pygments pypiwin32 kivy_deps.sdl2==0.1.* kivy_deps.glew==0.1.*
python -m pip install kivy_deps.gstreamer==0.1.*


Python 3.5 버전 이상의 사용자는 이것도 설치해줍니다.
python -m pip install kivy_deps.angle==0.1.*


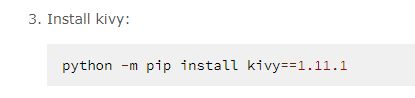
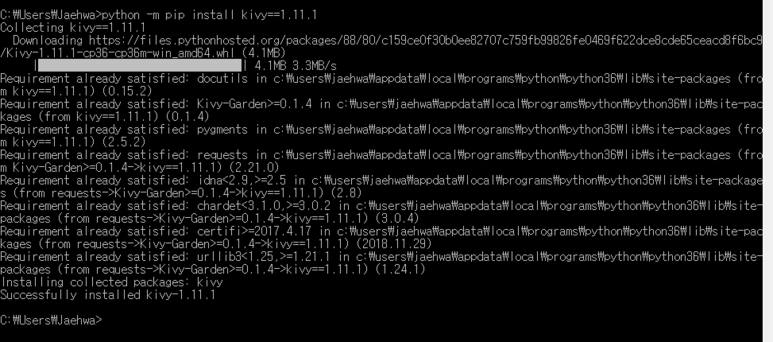
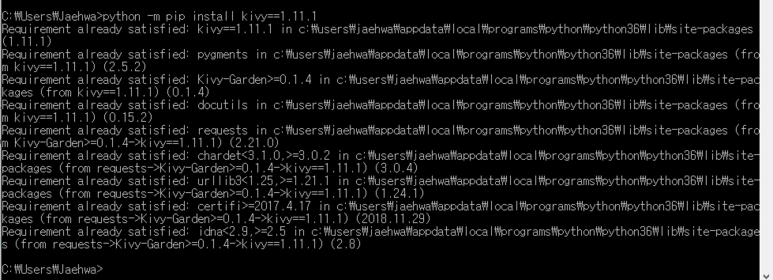
Kivy를 설치해줍니다.
python -m pip install kivy==1.11.1
예제 파일도 설치해줍니다. 많은 도움이 되거든요.
python -m pip install kivy_examples==1.11.1

기본 예제 위치는 다음과 같습니다.
C:\Users\Jaehwa\AppData\Local\Programs\Python\Python36\share\kivy-examples\
Jaehwa 대신, 본인 사용자 이름을 넣으셔야 합니다.
이제 설치가 끝났습니다.
잘 설치가 되었는지 확인해 봅시다.
cmd 창을 켭니다.
import kivy
kivy.__version__
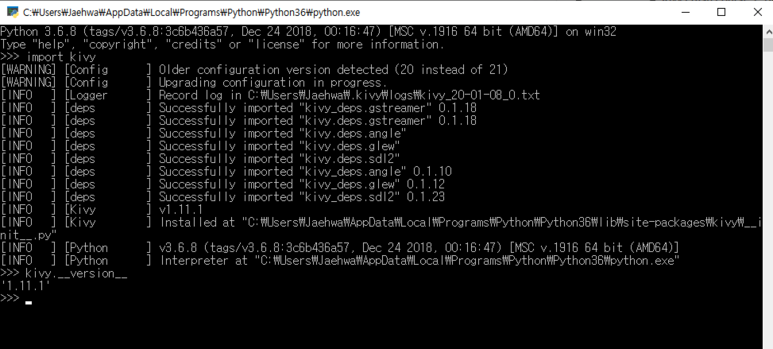
위와 같이 1.11.1이라는 문구가 나온다면, 성공입니다.
끝.
앱:
https://play.google.com/store/apps/details?id=starlight.jaehwa.one
사용 프로그램: Atom 1.42.0 x64
Kivy 설치하기에 대해서 알아보겠습니다.
Kivy에 대해서 대략적으로 설명하자면,
Kivy는 Python으로 GUI 프로그램을 만들 수 있는 모듈입니다.
https://github.com/kivy/kivy/blob/master/LICENSE
그리고 MIT 라이선스를 사용하여, 무료입니다.
Kivy download를 검색합니다.
Download를 눌러줍니다.
Installation on Windows를 눌러줍니다.
이런 화면이 나옵니다.
저는 Anaconda를 사용하지 않기 때문에, 직접 설치를 하겠습니다.
python -m pip install --upgrade pip wheel setuptools
virtualenv는 저는 사용하지 않을 거라서 설치하지 않습니다.
python -m pip install docutils pygments pypiwin32 kivy_deps.sdl2==0.1.* kivy_deps.glew==0.1.*
python -m pip install kivy_deps.gstreamer==0.1.*
Python 3.5 버전 이상의 사용자는 이것도 설치해줍니다.
python -m pip install kivy_deps.angle==0.1.*
Kivy를 설치해줍니다.
python -m pip install kivy==1.11.1
예제 파일도 설치해줍니다. 많은 도움이 되거든요.
python -m pip install kivy_examples==1.11.1
기본 예제 위치는 다음과 같습니다.
C:\Users\Jaehwa\AppData\Local\Programs\Python\Python36\share\kivy-examples\
Jaehwa 대신, 본인 사용자 이름을 넣으셔야 합니다.
이제 설치가 끝났습니다.
잘 설치가 되었는지 확인해 봅시다.
cmd 창을 켭니다.
import kivy
kivy.__version__
위와 같이 1.11.1이라는 문구가 나온다면, 성공입니다.
끝.
앱:
https://play.google.com/store/apps/details?id=starlight.jaehwa.one
카테고리: BlackSmith, Kivy
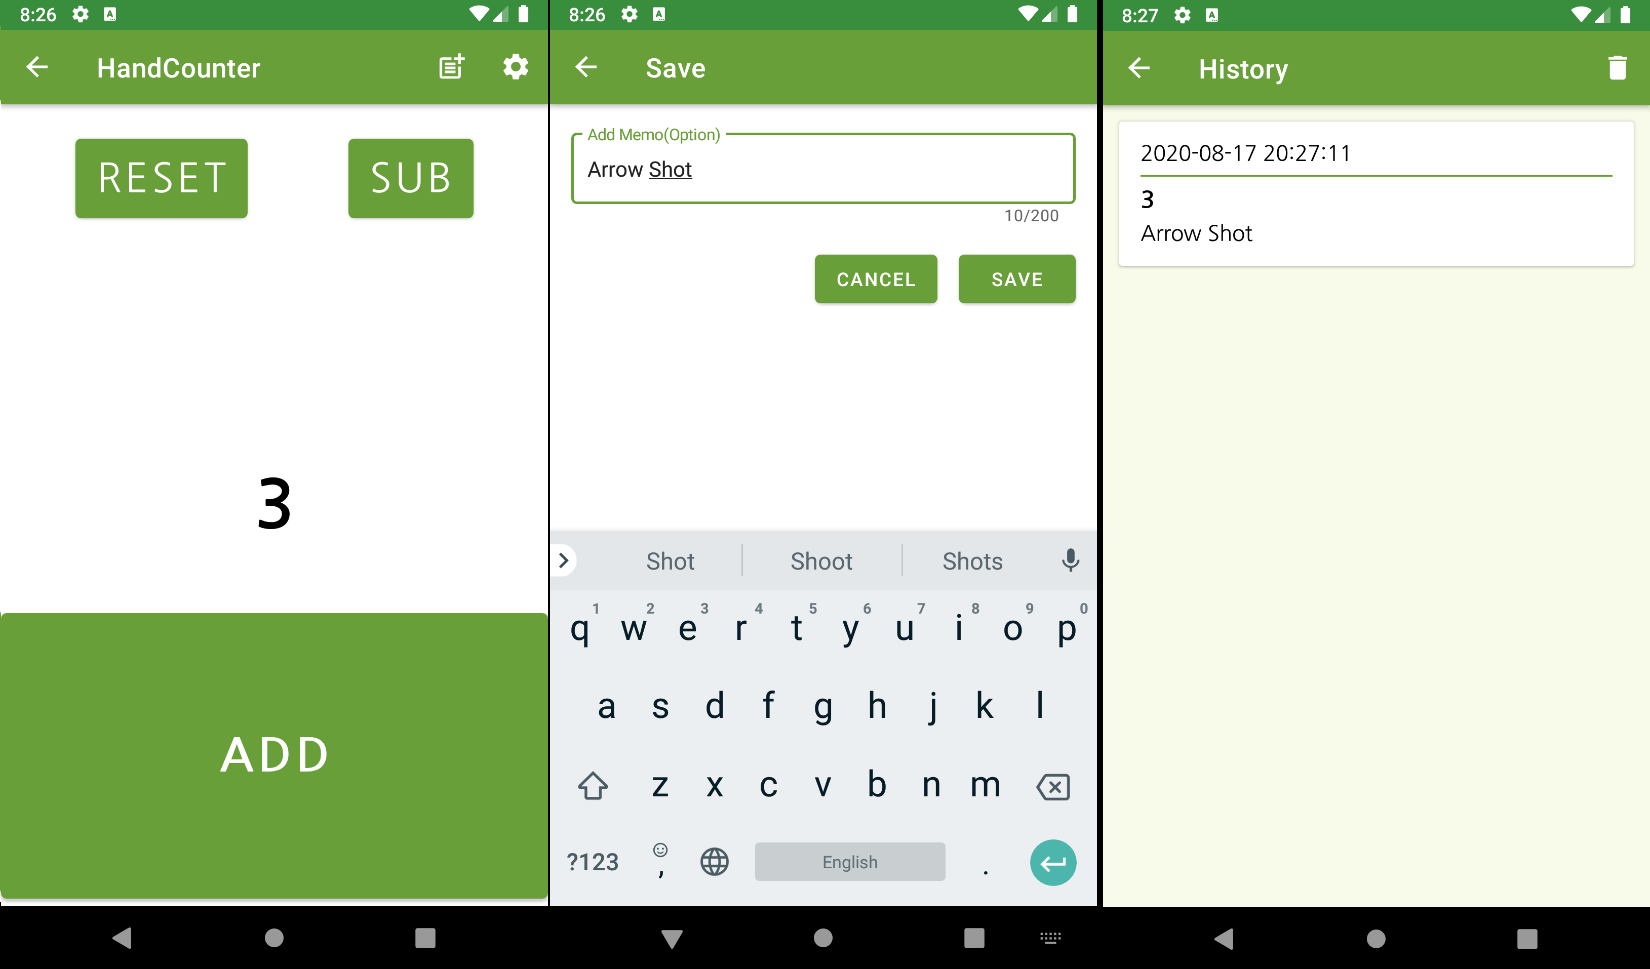
[계수기] 앱 광고
외국: Hand Counter
계수기 앱.
하나씩 개수를 셀 때 사용해보세요.
센 숫자를 메모와 함께 저장할 수 있습니다.
감사합니다.
[계수기] 앱 광고 끝.


.png)


댓글
댓글 쓰기
궁금한 점은 댓글 달아주세요.
Comment if you have any questions.