
Android Launch screen 설정하기
사용 버전: Android Studio 4.0
사용 언어: Kotlin 1.3.72
안드로이드 Launch screen 설정하기를 알아보겠습니다.
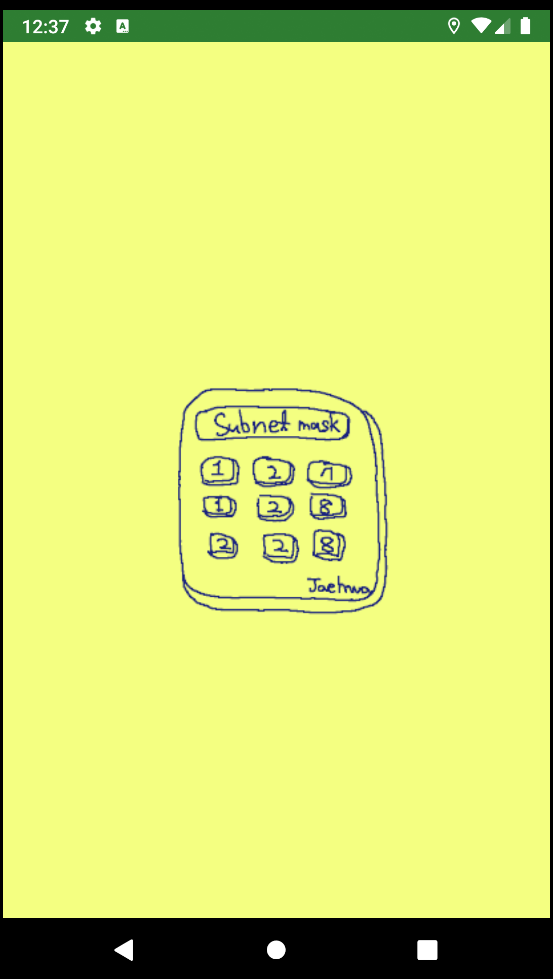
Launch screen은 실행 후, 로딩 화면을 말합니다.
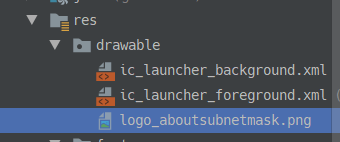
우선 res/drawable에 이미지 icon을 넣습니다.
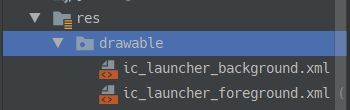
복사, 붙여넣기 합니다.
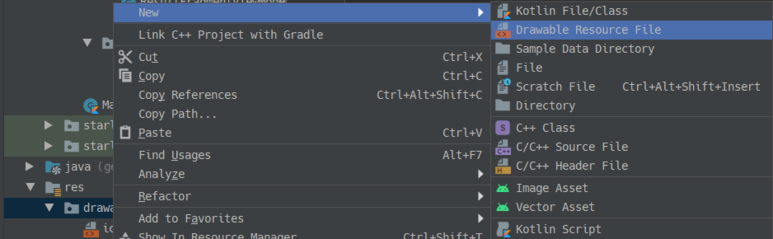
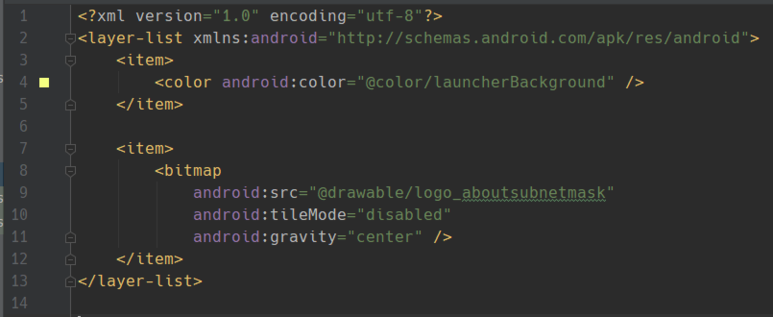
drawable에 resource File을 추가합니다.
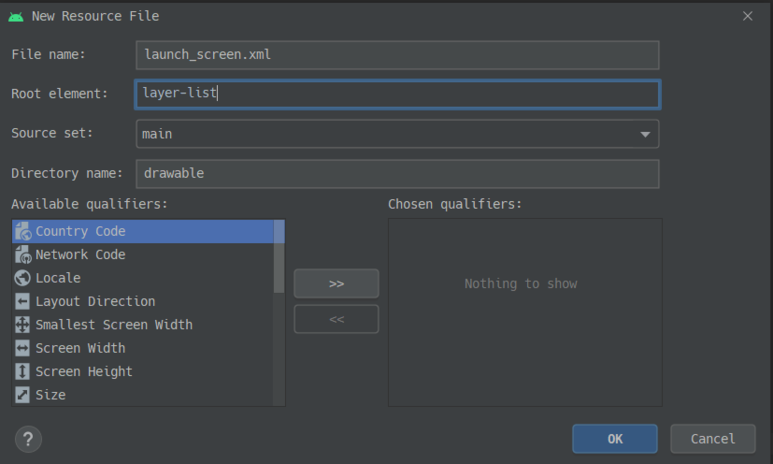
파일 이름, Root element를 수정하고 OK를 누릅니다.

<item>을 넣어줍니다.
res - values - styles.xml로 갑니다.

Style을 추가합니다.

app - manifests - AndroidManifest.xml로 갑니다.
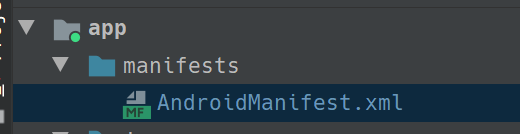
activity에 android:theme을 추가합니다.

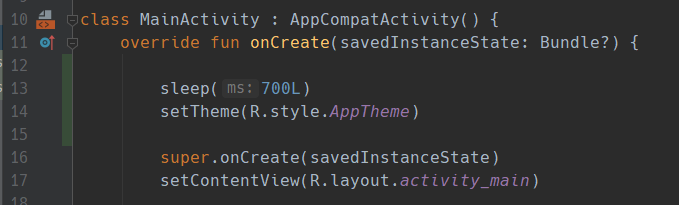
app - java - MainActivity.kt에 들어갑니다.
setTheme을 설정하고, 필요하면 sleep()을 사용합니다.
실행합니다.
끝.
카테고리: Android


.png)


댓글
댓글 쓰기
궁금한 점은 댓글 달아주세요.
Comment if you have any questions.